
Applying antifouling for boats in Malta is a job most owners can do themselves. That’s true provided the surface prep is done properly first. This guide walks through the DIY process step by step, from haul-out to relaunch, for owners doing their own antifouling instead of paying a yard for it.
What You’ll Need
- Antifouling paint in the quantity your hull requires
- A compatible primer, if switching antifouling types or working on bare gelcoat
- Sandpaper and a pressure washer or hose
- A roller or brush, plus masking tape for the waterline
- Protective gloves, mask and eyewear
Step 1: Haul Out and Wash Immediately
Wash the hull as soon as it’s out of the water, while fouling is still soft. Left to dry, marine growth hardens and becomes far harder to remove. That turns a quick wash into a long scraping job.
Step 2: Scrape and Sand
Specifically, remove any loose or flaking old antifouling back to a sound layer. A patchy, poorly-keyed surface is where new paint peels first. So this step matters more than it looks like it should.
Step 3: Mask the Waterline
Tape off the boot-top line before priming or painting. That way, the antifouling stops at a clean, straight edge, instead of a rough one that needs touching up later.
Step 4: Apply Primer If Needed
In particular, bare gelcoat, or a hull switching between antifouling chemistries, needs a compatible primer first. Skipping this step on bare gelcoat is one of the most common causes of early paint failure.
Step 5: Apply the Antifouling
In practice, roll or brush on the number of coats the product specifies, at the recommended thickness. In particular, extra coats at the waterline and leading edges give added protection exactly where fouling starts first.
Step 6: Treat the Propeller Separately
In particular, standard hull antifouling isn’t designed for moving metal parts. Clean the prop first. Then apply a dedicated propeller treatment, since it needs different protection from the hull coat.
Step 7: Dry Fully Before Relaunching
In practice, follow the manufacturer’s drying window before putting the boat back in the water. Antifouling launched too early can soften or lift before it’s properly cured.
Common DIY Mistakes
- Rushing the prep work to get to the painting faster, which is where most early failures start.
- Applying too thin a coat to stretch a tin further, which shortens the paint’s working life.
- Skipping the propeller treatment entirely, leaving the one moving part of the boat unprotected.
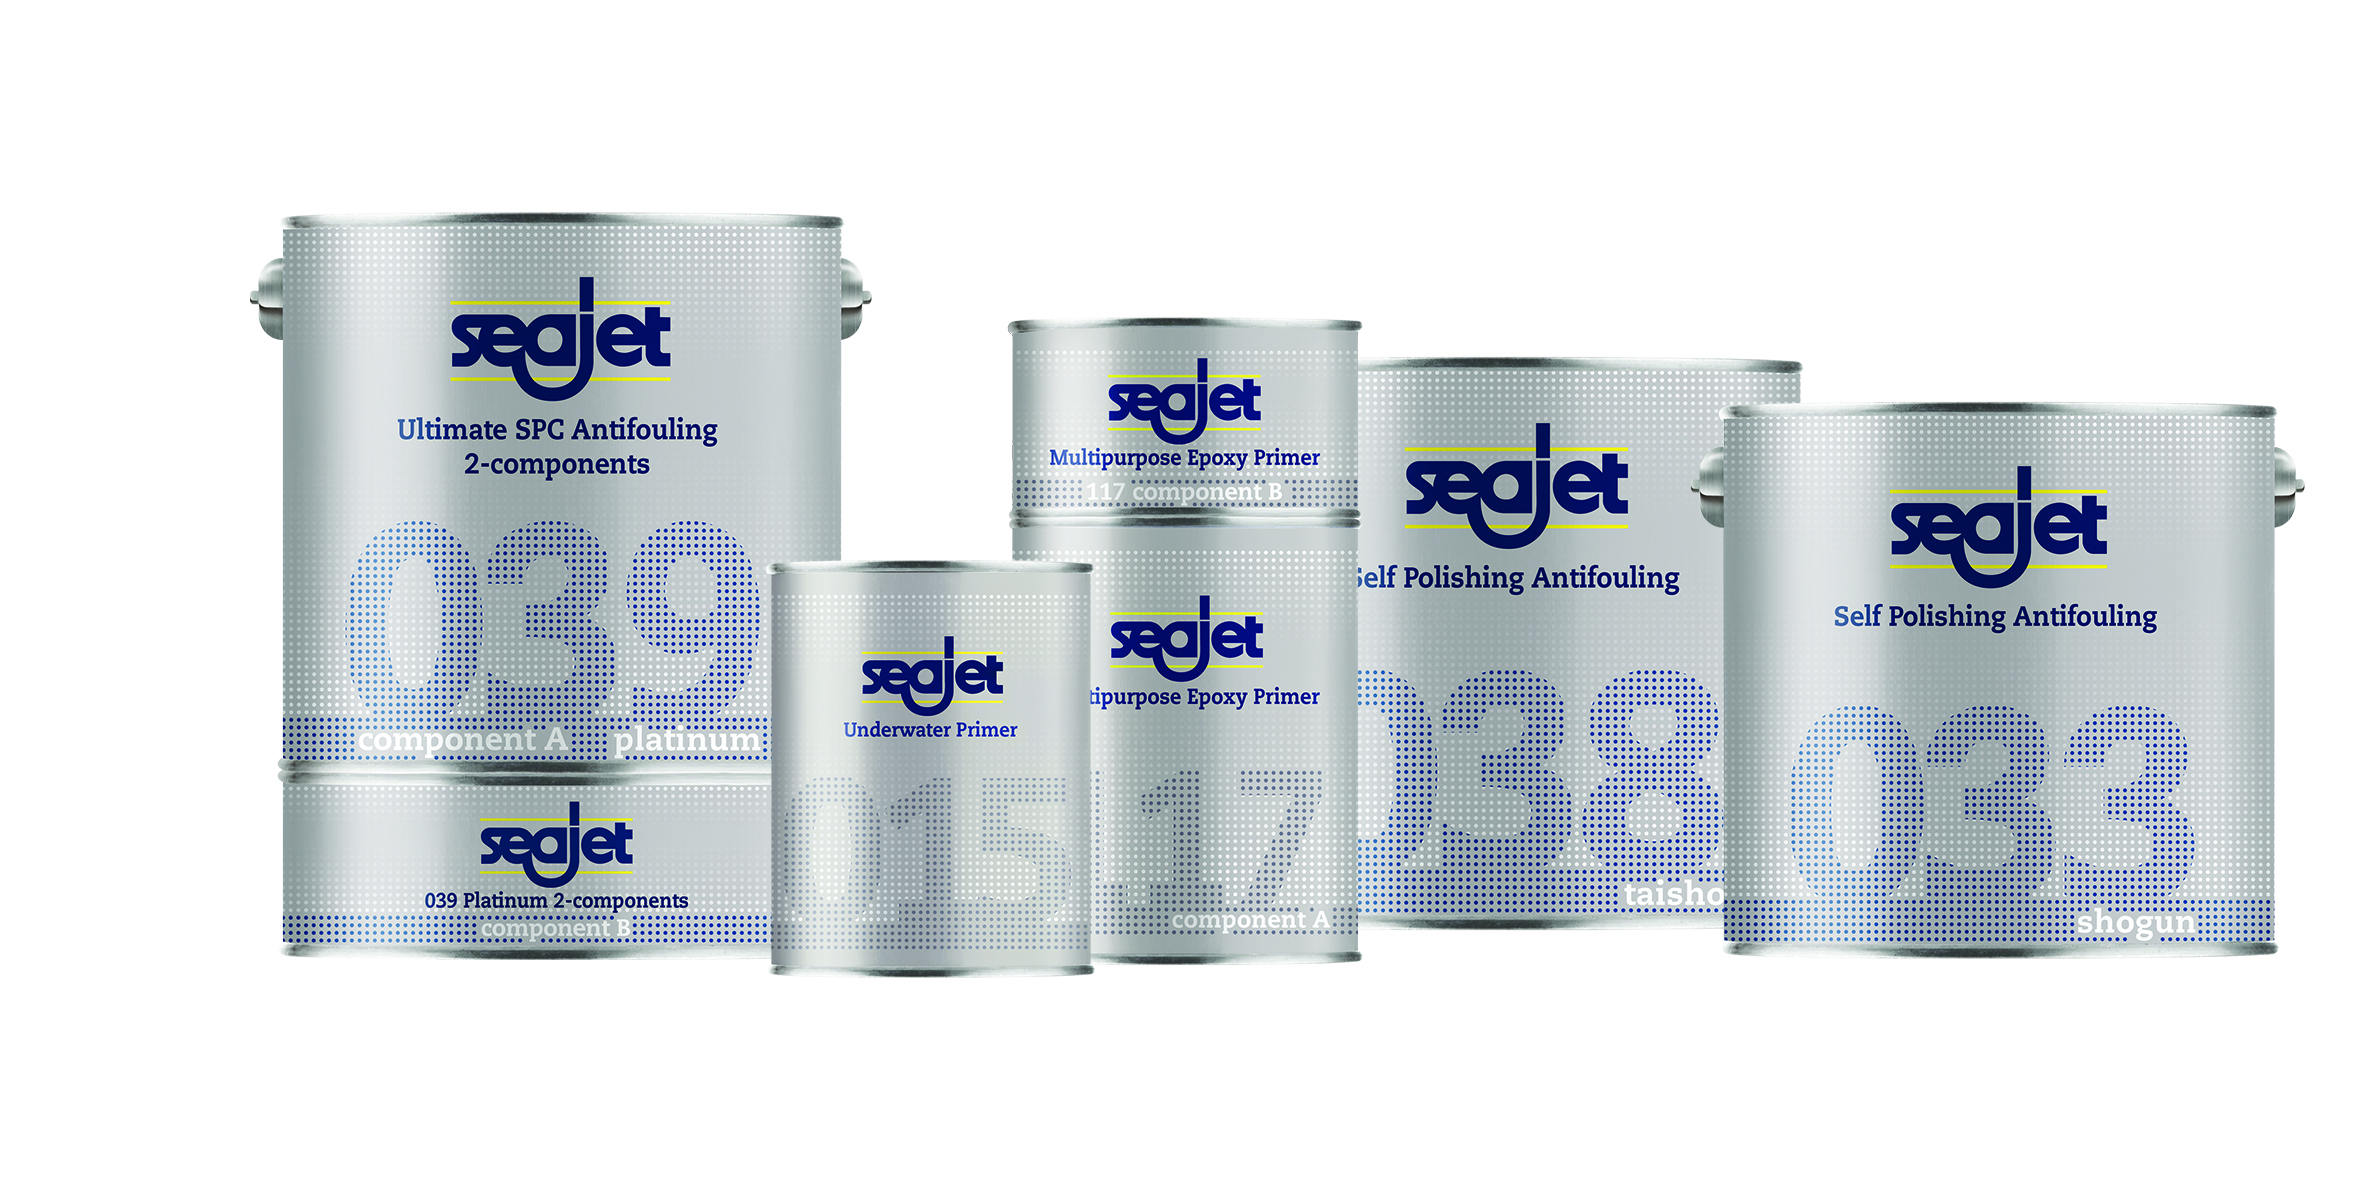
Antifouling Supplies for DIY Jobs at DockShop
DockShop stocks everything a DIY antifouling job needs. That includes Seajet antifouling and primers, plus the application tools and prep supplies to go with them, all shipped island-wide. For help choosing which product suits a specific hull, see the complete antifouling guide for Malta.


